

Today, I'm going to show how simple it is to setup SSL/TLS for your homelab, or local development environment, by using a tool called mkcert!
mkcert is a CLI tool written in Golang that lets you generate trusted certificates for use within your local development environment or homelab, by acting as a fake root CA and providing you the ability to generate certificates that will allow you place SSL certificates on development or local web servers for example, that will enable you to have end-to-end encryption, trusted certificates (no more self-signed certificate warnings) but also use HTTPS endpoints where you really have no choice but to use a secure endpoint, like local private docker container repositories (more on this later)
Setup
Setup is fairly painless no matter which system you are on, and the documentation is pretty good to an extent at explaining how you get started, but I will try and explain how to install and distribute certificates for my use case (private docker repository) and for all major operating systems i.e. Windows, Mac and Linux.
Windows
As per the documentation, you can install mkcert either via Chocolatey or Scoop:
choco install mkcert
OR
scoop bucket add extras | scoop install mkcert
If you're like me and had neither Scoop or Chocolatey installed, then simply wget or curl the latest Windows binary from the Releases page, and install the binary manually, which was 1.4.3 at the time of writing this:
wget https://github.com/FiloSottile/mkcert/releases/download/v1.4.3/mkcert-v1.4.3-windows-amd64.exe
Mac OS
Easiest way on Mac OS is to use Homebrew:
brew install mkcert
Linux
How you install mkcert on Linux largely depends on the target flavour of Linux, i.e. Ubuntu, RHEL etc, but luckily they have you covered for the most part:
sudo apt install libnss3-tools
OR
sudo yum install nss-tools -or- sudo pacman -S nss -or- sudo zypper install mozilla-nss-tools
Getting started
The first thing you'll want to do before running any mkcert commands is deciding what server or machine you're going to use as the Root Certificate Authority, i.e. the computer that is going to hold they keys to the kingdom and sign and issue certificates to other target machines. Avoid using your local Windows, Mac or Linux development machine and setup a new server in your homelab if at all possible, as you don't want to lose your root CA if you reimagine your local development machine. If the goal of this is to provide yourself trusted SSL for your local development, and you have good tested backup/restore practices in place, or heck you just don't give a damn! then go ahead and use your local machine.
Setting up a computer as the root CA
Login to the target machine and open a terminal, whether that's PowerShell for Windows or a terminal in Mac or SSH terminal for Linux.
Locate the mkcert binary (assuming by now you have placed it in your $PATH if you have installed it manually) and run:
mkcert
This will place a root-CA.pem and root-CA-keys.pem in your $CAROOT path.
What is your CAROOT path? that's a good question, one that wasn't obvious to me either initially, by default, you can find this path by running the following:
mkcert -CAROOT
This will spit out the path where both the above mentioned certificate and private key are located. This path will come in handy in a bit.
Generating your first certificate
Now we are ready to generate your first certificate, run the following command, and replace the desired certificate name to be whatever you want:
mkcert example.com <replace example.com with whatever you use at home>
Once you generate the above command, in the directory that you ran it from, this will spit out a certificate and the private key for the certificate, i.e. for above it would have generated - "example.com.pem" and "example.com-keys.pem". I was first confused by this because following these instructions for setting up a private docker registry, it was expecting a .pem and a .cer file, and I understand this is the case for most web servers. Don't worry, the .pem file is equivalent in my case, to the .cer file and the keys.pem is the .keys equivalent. There are also online resources available to convert the certificate format to .cer and .der as well if required.
Establish trust with other machines in your network Earlier before, I alluded to my use case using mkcert for my local private docker registry, this was the big driver for me to explore this tool because I run a locally deployed version of Rancher at home and wanted to be able to push and pull private docker images from a locally hosted private container repository, and could not do so (neatly without skerting security) without having SSL on my local container repository.
Once you have generate certificates as described above, simply install mkcert on your target machine, whether that's another developer machine or a server in my case, and run:
mkcert
Now, copy the root-CA.pem certificate we generated on our root CA computer, i.e. the first computer we ran mkcert on, to the target computer.
Now, ~/cd into the $CAROOT folder (get this folder by running mkcert -CAROOT command), and copy the root-CA.pem certificate we previously mentioned that we copied to this computer. Remove/delete any other certificates in this folder, and ensure only the root-CA,pem certificate we just copied is in this folder (VERY IMPORTANT).
Now simply run on the target machine:
mkcert -install
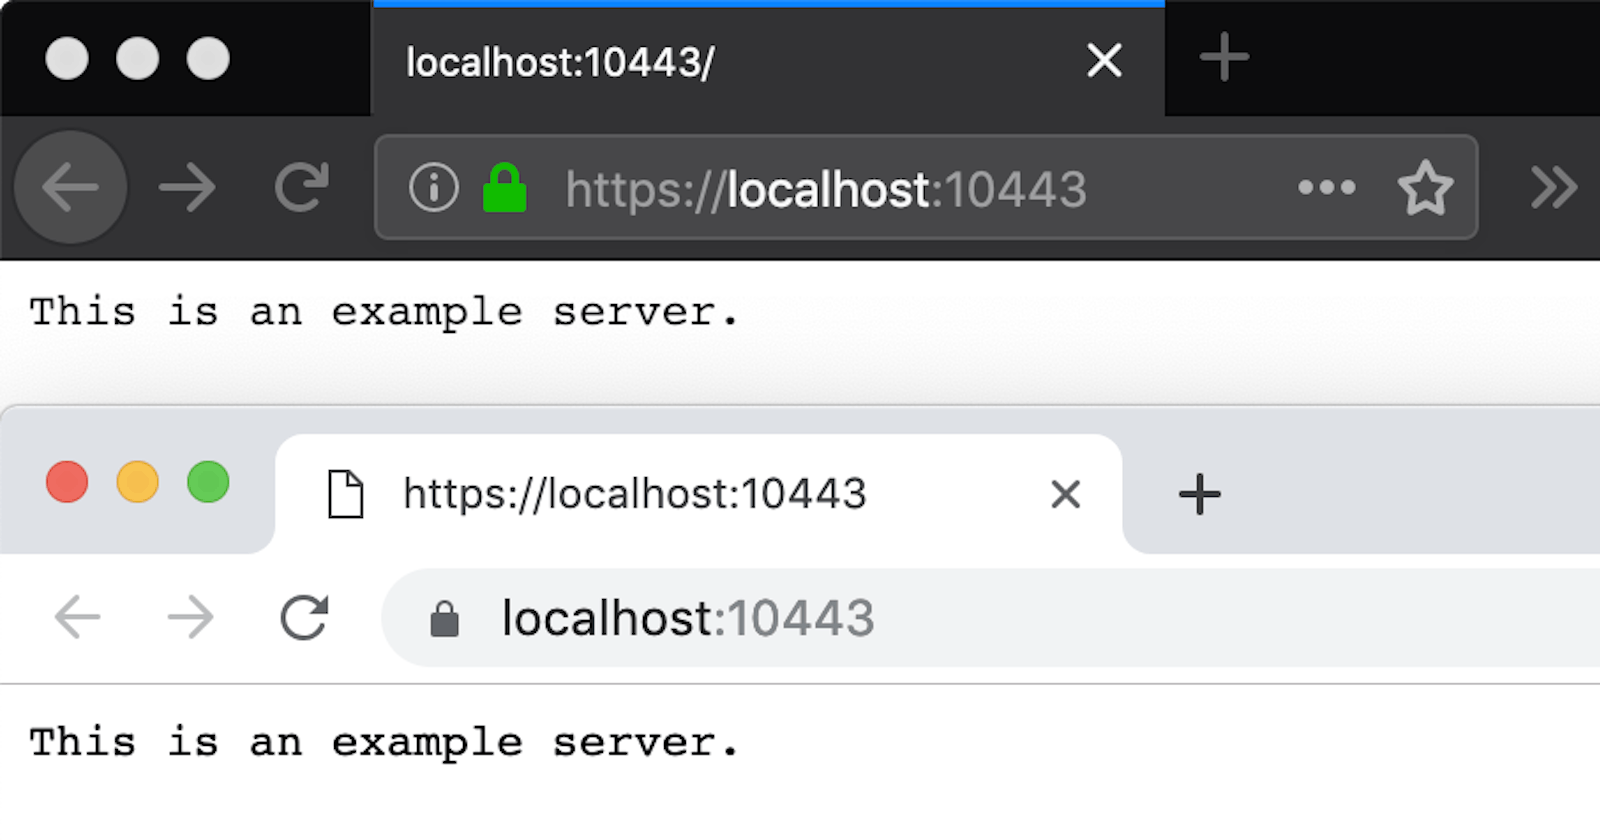
And boom now you should have end-to-end trusted certificates in your environment! Embrace the green padlock of glory in Chrome!
Gotcha's
One thing that stumped me when trying this the first time, I followed the above instructions to a T and attempted to browse my locally hosted private docker registry on port 443 and got a SSL warning, this was weird? I can see the certificate belongs to my root CA and my certificate is in my Windows certificate store? what the hell is going on?!
Ok this was weird but maybe I can run the following no problems:
docker push <image-name:tag> homelab-blah
Uhh yes but very slowly and with it dropping out 2-3 times before succeeding.
After a lot of head scratching and swearing, I finally traced the issue back to my locally hosted DNS using AdGuard Home. See the issue is I had an A record in for this IP and was resolving it over 443 using the hostname, which was bound to port 80 initially. So once I came back a day later and the TTL on my DNS server had lapsed, I experienced no issues and blazing fast speeds, roughly pushing and pulling ~1 GB images in less than 10 seconds!
That's it! reach out to me on LinkedIn if you have any questions!
Till next time!